December 2, 2016
I saw a new cable at Fry's that I could use for this nas case so I thought I check it out since it was cheap and it would basically get rid of the power supply connector and that sata cable that I'm now using with the current setup. It is also thinner just like the hard drive which means that I can use it with a sata drive in the original hard drive bracket. Anyway I won't use just yet because I do want to make use of that old ide hard drive anyway but I wanted to get the cable for when the time comes to change drives. So here are the pictures of the two new items I got to help with the case.

I've been testing a few other nas operating systems and I kind of also liked nas4free until it refused to see my drive again. It gets a bit too picky with the drive formatting and won't do it for you. I also tested rockstor which had other niceties like openvpn and my old squeezebox which I thought was cool. But it lack a few other things like saying the raid was still beta or something like that. So that continues and I'm back testing omv, I installed v2 now back to 3 so we'll see how that goes.
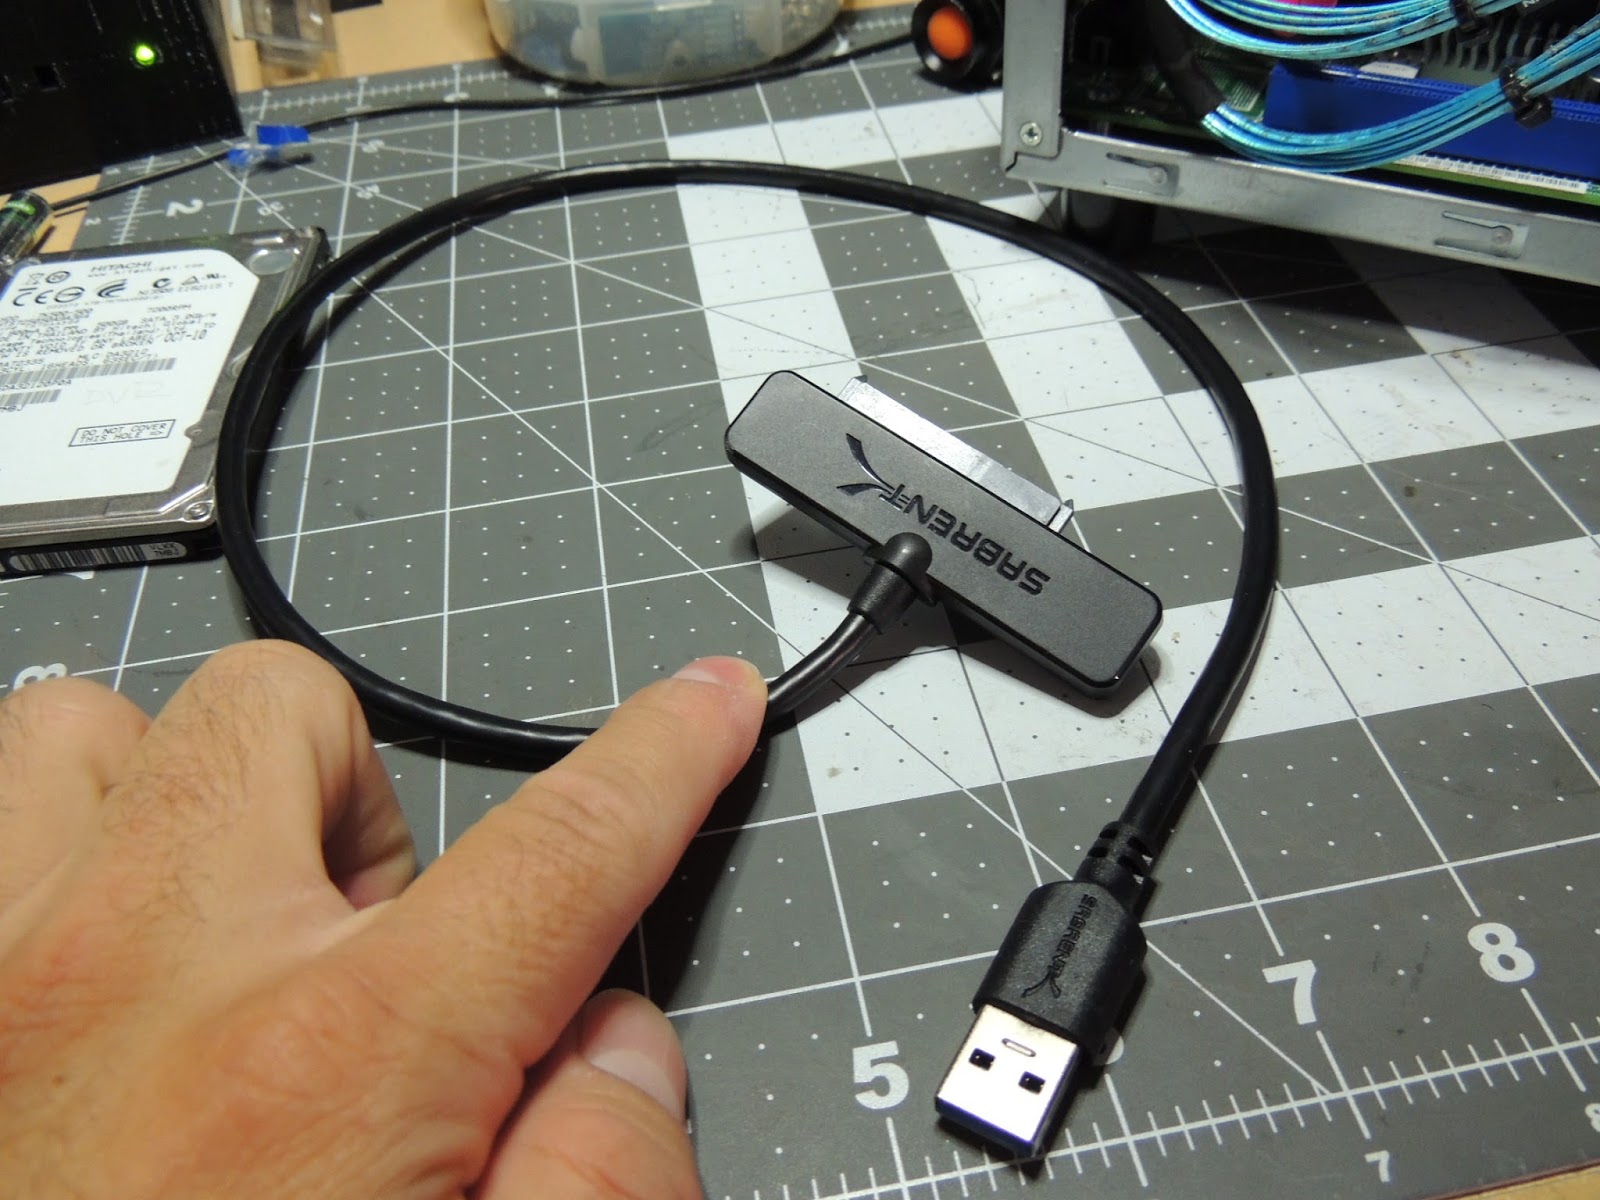
Here's the new usb 3 to sata cable I saw at fry's for about 6 bucks so I thought I pick one up since it's an all in one cable and also is as thin as a sata drive itself taking care of that problem with the psu power cable.
I installed a sata drive I have and plugged the cable to it and I can finally put a sata drive on that bracket with this adapter. So it can now be used if you decide to go this route.
Here's a top view of the installed sata drive with the adapter connected. It works great!
The internal usb port is just a usb 3 port so this is why I went with this adapter since it's also just usb 3. There was a usb 3.1 version but this one was also smaller I think. I also finally got me a small hub to plug as well since the usb port on the board is right near the middle behind all the cables making it really hard to get to once it's installed. So I took the suggestion about just using a hub to make my life easier here. I can now also get an internal header and plug that too so I can make use of that usb 2 front header if I really want to. I don't have that header, but maybe I'll get it later at some point. Either way it's now easier to plug and unplug my usb drive from the side and now I don't have to worry about accidentally pulling or breaking anything on the board.
Here's what both of these look like installed.
I just went ahead and used another piece of the same double sided tape I have to stick this one on the side here.
The good thing about this adapter is that it will power the drive as well making it a more clean install vs my ide cable version. The hub and adapter both have a small blue led which I'm glad are small and since they will be in the case I won't ever see them. So far this worked without any problem as you can see here.
Now the usb drive is only shown as usb sabrent which I'm fine with.
So it's even easier to differentiate anyway.
Here's what both of these look like from the side. Keep in mind that both work, it just depends on what you want to use. I have no problems using my old ide drive, however that setup looks a bit more fragile and easier to break if I'm not careful. Then again both of these types of setups are fragile so just be careful and things will work just fine.
I also tested this on the old drive with no problem here either. It just sticks out way too much.
It works just fine here too.
I forgot that the old adapter is actually a usb 2 and the new one is usb 3. It still works fine since it's connected to the usb 3 though.
Final setup with the hub. Depending on how the drive holds up I may or may not change it any time soon, but at least I have the solution for that too. The case is large enough so it doesn't bother me to have these extra cables since that is also working just fine now. I'm still waiting for the hard drive prices to get a little better so until then, this is where I'm at.
Here's the box for this adapter.
And the usb 3 hub.
Update August 10, 2017
I finally got around to getting an internal usb 2 to usb adapter so here is what this looks like. I also found that if you just mate the two adapters as they are, it will not work with whatever you plug into the usb port. I'm not sure why but I tested this with a usb stick. In any case I found that if you only use one row which you can do once you unplug it, then things started working. So it may just be a cable issue, but I tested all the pins with the multi meter and they worked the same on both rows. Except that one row has that extra pin at the end. The colors were not the same on both sides though so who knows what's going on there. Since I only needed that one extra usb 2 port to work, this is just fine because now all my ports work. I got this one off ebay. If you get a different one maybe it will work on both rows of pins. I won't bother testing another since that is only a usb 2 port anyway. I don't even use the ports, but I just wanted to keep everything functional on my nas. I also didn't burn anything which is the one thing you really have to be careful with these things. Make sure the colors match to the colors on whatever you are connecting this too.

Here's what the cable looks like. You can just make your own if you don't mind soldering, but I didn't have any of those header pins myself.
So here are both ends of the mating sides. They fit perfectly and there was no way to connect it any other way since one side has the extra pin and the other on the board side is closed.
I just plugged it in normally with all pins connected. The usb 2 port did not work this way. Only connect one row when using this type of adapter.
Here's what my setup looks like now with everything. The usb 3 hub is what plugs the OS drive to the motherboard usb and now also the front usb ports. Since there is only one usb port on this motherboard, this is the only way to plug these here.
I thought I test it to see if one would pick up.
The good thing is that the one that I was able to plug in, actually worked!
Here you can see how I moved it over.
Notice the colors on this side. They almost match, but instead of green the new adapter has a yellow. Not a big deal as long as it works.
On the other side though, they just used the same colors, so I'm not sure what this was meant for. Although the pins worked just the same on both sides, but the one with the extra pin is grounded.
So after checking to make sure it worked, I just went ahead and wrapped both with some electrical tape to make sure this doesn't short with the case cover and this should also help keep it from getting unplugged. Now all the ports on my nas work as they should.
Norco ITX-S8 nas case 1 - The build
Norco ITX-S8 nas case 2 - The build


No comments:
Post a Comment