November 10, 2016
After waiting for the ide 44 pin to sata adapter which finally came in today I thought I give this a try again. At this point I just want to add a separate hard drive for just the OS so I don't use one of the drive bays on the front of my case. I just want to use all of those bays for drive storage. Since I have a few ide hard drives I thought I just make use of one of those and this is the update on that with a few other pictures.
Here's the two port sata card I had laying around. I thought I might as well make some use out of it.
I found this adapter in my parts bin which still works but...
It ended up not fitting correctly on this case, again due to the drive being just too close to the cage.
Today I finally received this adapter which has a sort of 90 degree angle at the opposite end from the pins. I figured I try this one out since it looked like this would raise the adapter so I could use the power connectors from the power supply I am using.
So far, this seems to have done the trick in order for me to use that hard drive space. So it works great with my old IDE hard drives. I have a couple of these so I may as well use them now. Sure SSD's are faster, but this is just going to sit idle most of the time anyway.
Here you can see the difference now. Although an adapter with a casing would be preferable, this was cheap and it seems to work.
I found a buzzer that came with another motherboard and used that here too. It has a soft beep and I think I have only heard it once.
I decided to add this small bracket on here to give the power supply a little support from the back. The holes do not lined up at all, but at least it's better than nothing. I still have no clue where these brackets are meant to be used.
I saw some other holes on the back of the power supply, not the side showing here so I thought I flip it in order to get those holes closer to the bracket. Unfortunately those still don't line up and the cord sits higher, so I just put it back the way I had it and left it at that. I just thought I try it since I was back in here again.
Now, here's the syba two port card that I have. I couldn't find a full height bracket with the closer holes, so I just left it on without one. Unfortunately the motherboard will not detect this card, so the hard drive from here is still not detected.

Which basically means that I could not get OMV installed on this drive either. So now I'm running into this issue so I'll contact asrock and see what they say. I have also left the bios on the option to leave the power off in case there is a power issue. The board keeps turning back on after I turn it off which is odd so that's annoying, but everything seems to still be working okay. If I can get this sata card working then I'll feel better because then I'm not stuck to just having the usb port for the OS or having to use one of the front drive trays in order to get an OS on a hard drive. So I'm stuck here for the moment because this gives me that catch 22. Since the card fits I'll assume the card is compatible. However all I need to do is see the drive in the bios so I know that it works and I can use it. Unfortunately that's not the case. It comes with a driver disk which is nice, but from what I have been reading and trying to remember, you need to install the OS first, then the drivers. You can't do that if you can't see the drive.
I was looking around for a usb cable and found another adapter I had for some time which actually seems to do exactly what I have been trying to do with the pcie sata two port card. Anyway here are two other options I was looking at. One was to just plug in a usb external hard drive. I have these old IDE drive cases. I figured I could just mount one inside somewhere, but that was a bit bulky and heavy. The second option was to just use this other adapter with the drive that's already mounted since I can plug the sate straight to it and the other end to the internal usb port. This one was also lighter and easier to mount with double sided tape. Will it work? I think so, I was able to see the drive after I booted up and checked the bios. I think that hard drive is bad though since it would not come back up later on. I swapped it for another and it's all good again.
Here are my old 2.5 IDE enclosures and the USB to IDE adapter I just found in another box.
The nice thing about it is this sata port at the end which is exactly what I need.
Here's the new cable I will be using with it. This one seems to fit nice and snug and didn't move out.
The only issue was that I could not use a sata cable that has the clip on it. It just will not fit. If you try to force it it, you will break that sata port. This was not a huge deal since I have plenty of these around but it's something to note.
Finally, it shows up in here. So things are looking good again.
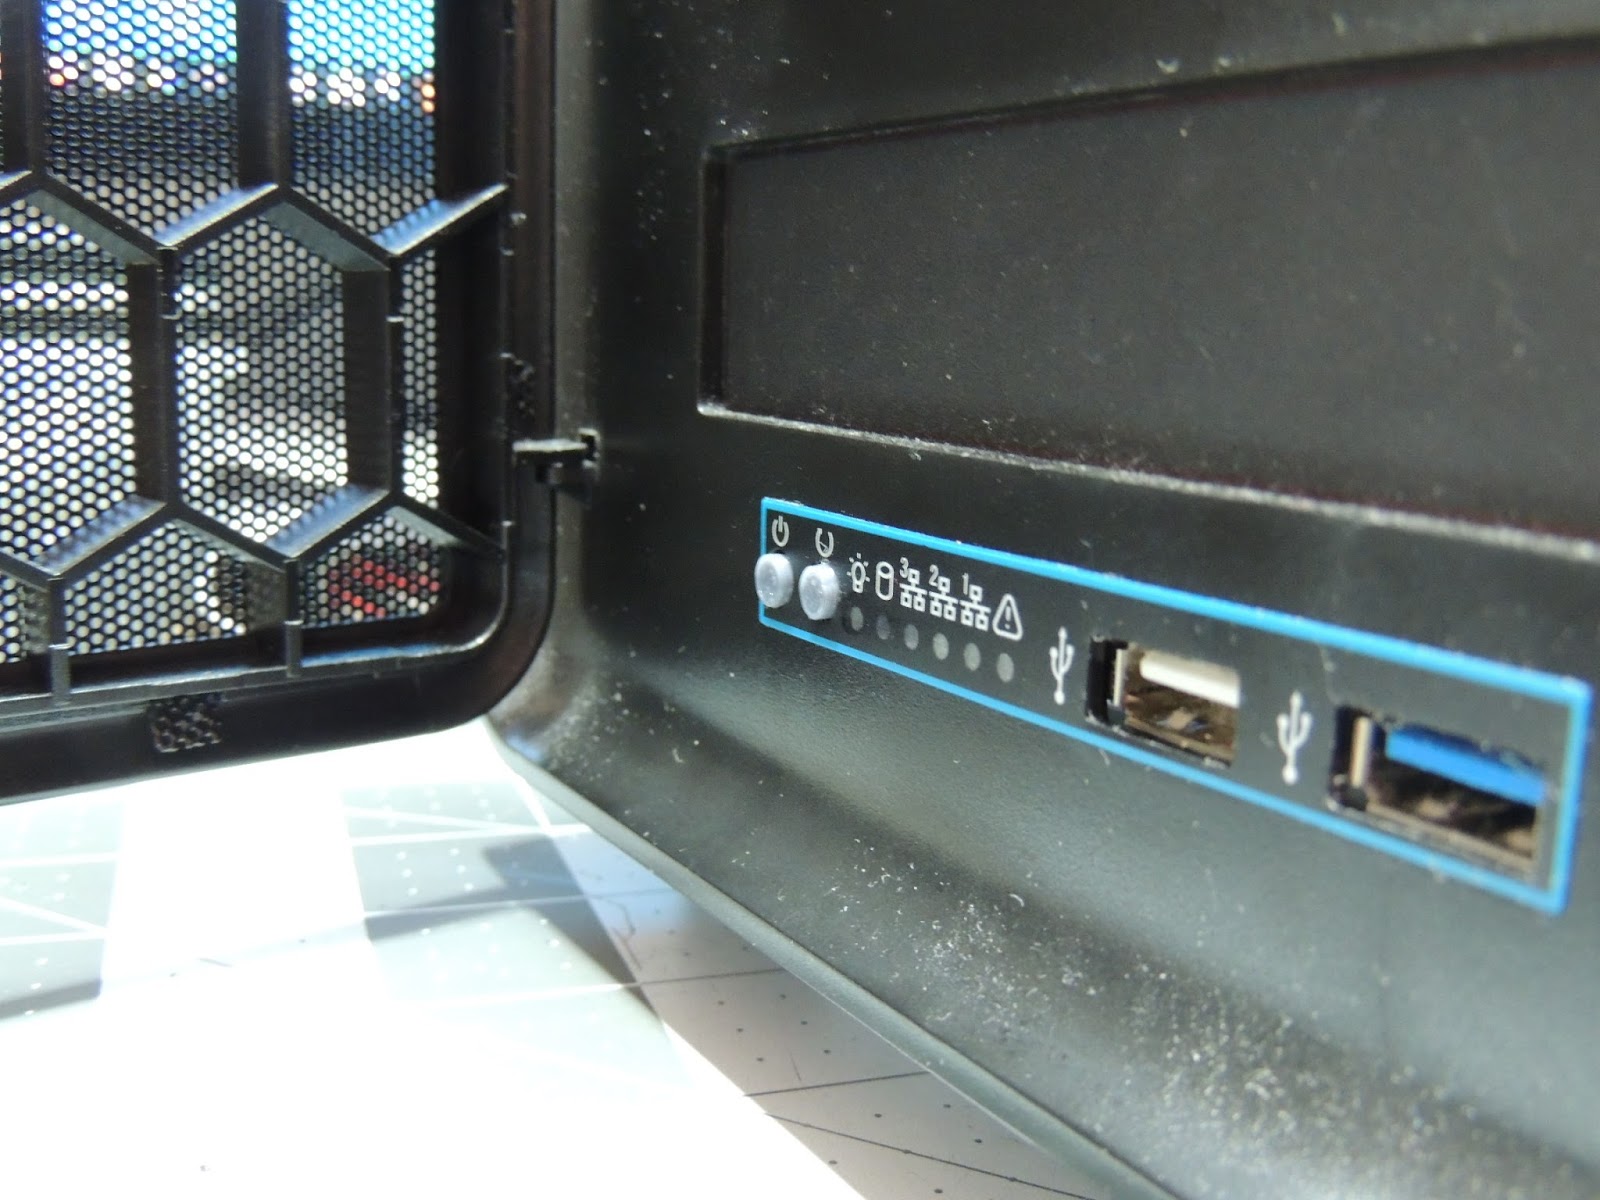
Here's what this looks like once it's powered on. The red lights are very subtle and will be inside so they won't bother me.
Here's that same thing above but with the flash.
Just a nice piece of strong double sided tape is plenty to mount this to the side.

All done setting up the OS drive! Well, sort of. The OMV flash drives tend to get screwed up if I don't finish the install when I used them so I have to redo that again. So there is something weird going on with that software which just causes that problem. The other program that works with just the flash drive is FreeNas. The other option would be to use one of the tray drives, but this is what I have been trying to avoid to keep all those bays for storage drives. Well, there's more than one way to skin a cat, so this is what seems to work for this drive setup which has been a real pain in this case. I still have to test the install but at least there is a way. It's past midnight again so my brain is starting to leave me. I think there was something else I wanted to say but I forgot it now. Oh yeah it's about the motherboard, try to get something that has more sata ports than what you will need, or anything with more ports than you can use. All I have left to plug into is the usb port on this motherboard without using any of the front drive trays. Although I have made it work, it's something to keep in mind.
I also forgot to mention that this can also be used with a regular sata hard drive, but due to how close the drive sits on the brackets and how the plug is on this psu, another bracket will be needed on top of what I have. Something like this.
http://www.ebay.com/itm/2-5-to-3-5-Drive-Bay-Metal-Bracket-Adapter-holds-two-SATA-IDE-SSD-HDD-from-USA-/361791516089?hash=item543c746db9:g:Z9UAAOSwnbZYD79a
This one should raise the drive up a bit. If it's only one drive just use the top one and that should give plenty of space to make the connections. I already have one of these on another case that is not being used, so when the time comes to change drives, I'm all set.
November 11, 2016
After finally making sure the hardware was working, it was time to test the software install again.
I used netbootin to make the usb boot disk again. I also downloaded the omv iso again just to make sure since the sourceforge downloads are slow as a turtle and just in case the previous download was no good.
Things were looking good here...
Then it just stopped again.
I figured I test another linux distro install using the same netbootin software.
And again, it would not want to install this either...
I figured it was time to change the usb boot disk software. I went back to using rufus instead of netbootin with the same hardware and still new usb 32gb drive.
The openmediavault finally installed without a problem! I can finally test it out. In short, there is something weird going on with netbootin so I would recommend using something else once you are sure your hardware is working correctly. I also hope they can find a faster place to get the isos into. Sourceforge is slow when downloading omv. The good thing is that my weird single 2.5 hard drive setup works.


I went ahead and put in the four hard drives that I do have to check and see what kind of temperatures I'm getting with the fan splitter that has one missing pin. Okay omv is kicking me out way too fast, so I have to find that setting and change it. The one thing that is weird is that all the drives are dev so there is no numbering for each one that I can tell. So far it seems that it just goes in order of which one you put in first. From the top to bottom and omv starts at 1, but everything else, bios and case start at 0. You can see this on the actual login screen when the computer/nas is connected to a monitor. It's what I saw once I started putting in one drive at a time and that's the only place I saw this.

Here's my netgear nas current temps. I like how it shows both Celsius and Fahrenheit at the same time. I have to keep using a converter with the omv temps. I haven't created anything with the hard drives. I just installed them to get an idea of the temps and to see if the fan will work fine with that splitter.
Update November 23, 2016
I finally got my 3D printer back up again and of course the first thing I designed and printed were two new buttons for this nas. Check these out. I needed something small to test the printer anyway. Nothing special but man these make a huge difference. I just kept them pretty simple for now but they work great!
The original buttons are pretty far in.
Testing the first button fit.
I needed to make a few minor changes, the hole was not large enough and it also needed to be a little deeper.
Just a print or two later and I had them just right.
Grey is the filament I had on the printer but they actually look fine since now I can also see them. No more trying to jam my nail into the reset button and trying to feel for the power button. Both are exactly the same height and the door doesn't even come close to touching them. I really like them now. No struggling to find the darn buttons, they work very well.
Update November 26, 2016
I'm still deciding on what to use for the software so I thought I look up a few more options. Here's a list just so I can refer back to without having to look for what's out there. There's a lot but it's nice to just have a list to check these out. I've only tested one of two so I still have a bit to go before I decide on this. The article may be a little bit old but the links still work so that should be fine to at least give you an idea of what's out there. There are quite a few and some may not be around now but I'll add what I find so you can take a look yourself.
Other systems:
Norco ITX-S8 nas case 1 - The build Norco ITX-S8 nas case 2 - The build Norco ITX-S8 nas case 3 - The build Norco ITX-S8 nas case 4 - The build (Software) Norco ITX-S8 nas case 5 - The build (Software continued) Norco ITX-S8 nas case 6 - The build (Fan replacements) Norco ITX-S8 nas case 7 - The build (Fans continued) Norco ITX-S8 nas case 9 - The build (2.5 hard drive update continues) Norco ITX-S8 nas case 10 - The end (OS and hard drives)Norco ITX-S8 nas case 11 - Upgrading the memory in 2022


2 comments:
I had the same issue with UnetBootIn, the debian images doesn't seem to work; however, if you use the custom iso option, it works without a hitch.
What are you power consumption numbers?
Thanks for letting me know. I didn't try any other options but the other program worked well too. So far I don't have anything to check that but have been meaning to get one of those wattmeters, but basically think of having a small server near you. The lcd on that ups is dead so I can't even see that one. The fans are loud even though they are brush-less. I'm still working on keeping the drives cool. These are old drives I have but they are all 7200 rpm and they do get a bit toasty. So I bumped the fans to full in the bios and the cpu fan up one notch from normal or whatever I had it at. I think it's one below full too. Now I can definitely feel more air going through as the noise can't be missed at night, but temps stayed around the 35-43 mark. So right now that's the main goal, just to make sure I keep them cool. I'll post once I remember to get one of the watt meters to at least get an idea.
Post a Comment