October 20, 2016
I received the new fans today so I thought I just replace them since I am still waiting for the fan splitter. Here are the pictures of the other flash drives I got to test out just to make sure it wasn't my flash drives causing the problems.
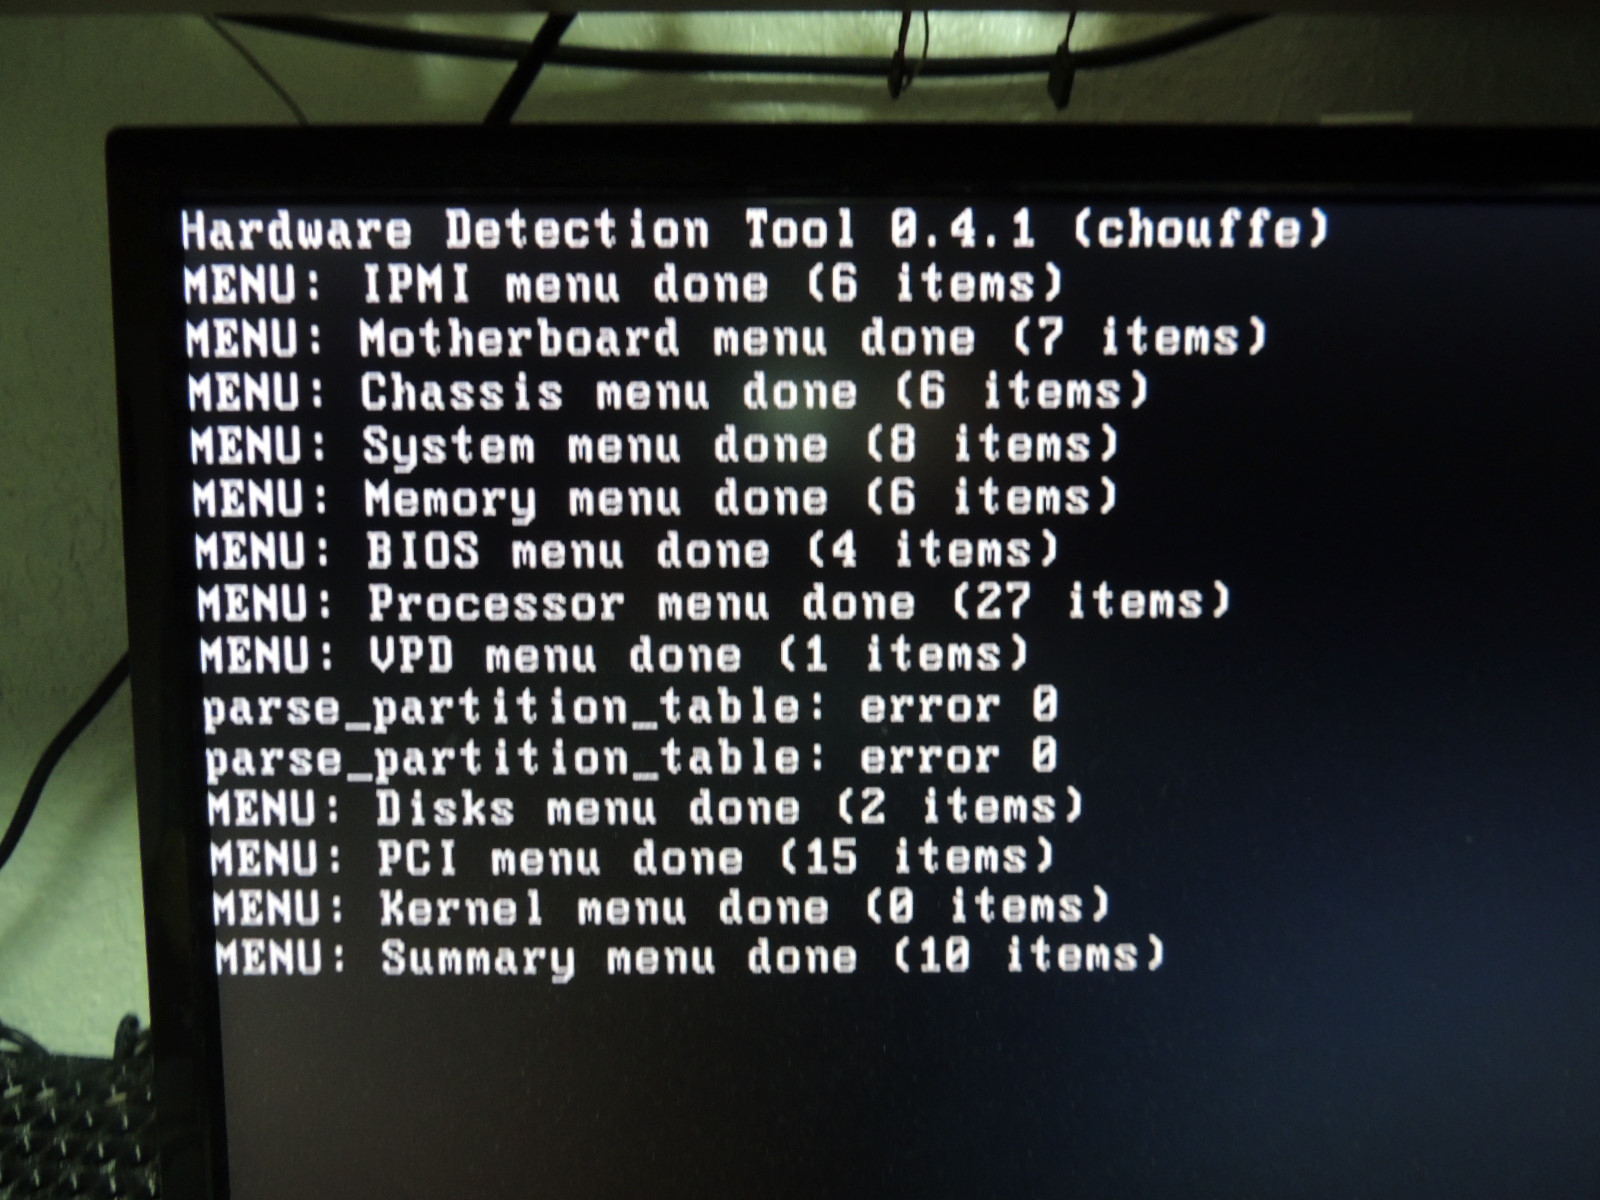
These both showed up here as usb, the usb 3 drive wasn't showing up like this on this menu but still worked fine.
I figured they would work fine since both were the exact same thing.
Unfortunately, even though I did label them differently, I just couldn't tell which one was which from this menu. So I had to go back to using a different one so I could just tell where I wanted to install OMV.
I tried the second drive first.
I got the same problem.
I went back and tried the second one, and had the same problem.
I did eventually manage to install omv on one drive using a different one to boot.
But then I got this and nothing else would happen.
I tried the other drive when I had both the same, and still the same problem. So something is not working correctly with the OMV iso because I did manage to install the version 2 stable without a problem, but then it just wouldn't boot. As you can see I did try both, the latest beta 3 version and 2 stable and different flash drives to no avail. Hopefully that will get sorted out in time, but for now I will be using FreeNas as that didn't give me too many issues with the installation on a usb stick.
Moving onto the fans. I wanted some brushless fans and something that was similar in specs to my old nas. I noticed the fan going up to about 2600 rpm today which is a hot day. The new fans can go up to about 3500 rpm I think. Different places give you different specs but I thought I get something with a higer range, just to be safe. These are made by
delta and are brush-less. This is how they came straight from China.
I never heard back from Norco about the specifications on their fans so these are the fans I am going with.
Here are the specifications on these new fans. The ones that came with the case didn't even have them.
They come with longer leads, but they are about two inches shorter than the ones that came with the case. The wires are also thinner and separated compared to the original case fans.
The new fan on the left and the one that came with the case on the right. I just moved the grill over the the new fan. They are all 80 mm fans so everything fits just fine.
Here you can see the new fan blades are a bit wider and I think the angle may also be a bit less.
Here you can see the center hub on the new fan on the left is a bit more rounded compared to the included case fan on the right. I'm hoping that these minor differences will make it quieter as well. I measured about 40 decibels plus or minutes 5 db on the phone meters. I wanted to get an idea of how loud these were before I changed them and I had already checked this. I have no idea what the new ones are but the old ones sound like a small jet engine just to give you an idea. They work, but definitely not ideal sound wise. I'll definitely be checking temps to make sure they also keep things cool. They are very similar so I do expect them to at least keep all drives cool.

The new fans are finally installed. In the end, this case has four fans going, cpu, psu and two case fans. I think I may be able to squeeze a slim fan on the side of the board if needed, but I'm not sure one header could power all three, that may be pushing it. So also keep that in mind when looking at motherboards. Of course I didn't even think about that until I had to plug in two fans instead of one and my board only came with one header for case fans. This is minor, but it's something to keep in mind when building something with a lot of drives.

Here's a final look of the build. The two new fans are shorter but at least they reach this other side and I was able to tie them to that metal tab that's under the power supply. This keeps them neat and off the motherboard. Since I have to use a splitter anyway, that should take care of the connection the rest of the way. The fan header is all the way on the left next to the cpu fan header, at least on this board. I'm still waiting for the splitter to arrive so this is the reason you don't see it on this final picture. That's all I need before I can close the case and leave it alone.
And here's the other side all cleaned up as well. I have to say, I wasn't too crazy about a back plane with sas ports, but now I really like how clean they make things there. Instead of having 8 sata cables, I just have those two mini sas connectors on that end.
All in all, I'm really happy with the outcome. I did do a bit of homework beforehand and it shows. Take your time choosing your parts and make sure they work together so you don't have to return anything or you will have more work than you want. Aside from the minor issues that came up, I still like the smaller case foot print, but they do need to fix/improve a few things. The side hard drive mounting for one. I hope they make it a two drive instead of one. The front plastic parts and case cover hole alignments. The front buttons as well. One thing I did find later as the build progressed were the feet, yes the feet. They are made of plastic and only have rubber stuck on the bottom. This was a problem since I kept tilting the case and due to those plastic feet being a very shiny plastic, this thing kept slipping on me. So I would like to see some all rubber feet on these to keep that from happening. Not a huge deal breaker, but it got pretty annoying after a while when I was trying to look at things inside the case.
As for hard drives, I didn't mention that because there are so many options that and I haven't decided what to go with either. I guess it will all just depend on what's on special. LOL
October 22, 2016
I finally got one of the fan splitter's I ordered and found one pin missing on one of the fan connectors. This is the first time I had to use one of these so I'm not sure if they are all like that or someone missed something. Obviously I was thinking both ends would need this so that they work the same. Either way, I also ordered from another vendor just in case the fist one didn't work. This may or may not be a good thing.
Here's the cable.
They are nicely sleeved.
Here's the single end.
And here's where I noticed one pin missing on one side. This is the sort of thing you will run into when building your own hardware, so keep this in mind. I'm in no rush to get this done, but it's nice to get it done correctly the first time around.
Here you can see this better.
I thought I take a picture of the screensaver for the nas. It looks a bit weird because it was moving around the screen. I got tired of unplugging and plugging all the cables on my computer to check this. I made some room and moved it next to the tv so I could use that as a monitor. It turned out better anyway because it's now a little further from me.
This is the one thing that is weird with freenas, when I shut it down all I see it this stuff and eventually I just have to manually shut down the nas.

And finally here's a picture of the cable installed. I figured I use it for now to test it out. I ended up leaving the missing pin connector on the upper fan since hot air rises and that one seems to blow a lot more air out compared to the one with the temperature control pin. It's running at full speed like the originals but seems a a little more quiet which is nice unless you get near it. The noise also seems to have gone down a couple of decibels from what I measured with the original fans. The bottom fan does seem to move less air than the top. So the noise would definitely go down more if both connectors included the temperature control pin. I'm still waiting for my other cable so we'll see what happens. Again I don't know if that will be fine once I get some drives or if I need to leave them at full speed. I'll just have to keep a close look at this until I'm sure the drives are going to be fine and figure out the cable matter. This case has two fans so obviously I would prefer to have them working the same.
Norco ITX-S8 nas case 1 - The build
Norco ITX-S8 nas case 2 - The build
Norco ITX-S8 nas case 3 - The build


1 comment:
The fan splitters all only have 4 pins on one of the connectors. That pin is the tachometer pin which tells the system how fast the fan is spinning. The system can only handle a tacho from one fan on one fan header, so when you see the RPM in your bios etc, its from the end of the splitter with 4 pins.
PWM control controls the fans speed, and that is the 4th pin, and is present on both ends of the splitter as the same PWM signal is sent to each fan.
I would recommend noctua fans. They're powerful, silent, they come with rubber grommets and mounting pieces, extension cables, splitters and slow-down cables to run them at even reduced speeds.
Post a Comment