June 11, 2016
I finally got the spare cables I
ordered. These are for a different printer, but I just wanted to get
some spare wires that I could use when the time to change came. Well, my
fans on the hot end have been stopping randomly which basically tells
me that the wires were finally cut somewhere along the wire.
Unfortunately it would be a bit hard to find where the break is since
you can't actually see inside the wired shielding. So aside from
replacing them, I wanted to re-route them above the printer in order to
make them easier to change again when needed. Well, I found out what a
pain in the butt this was, but I was up for the task and knew that I
would have to take it apart quite a bit. So I will just call this the
chain from hell since it will take a bit of swearing along the way. So
let me get to the pictures.
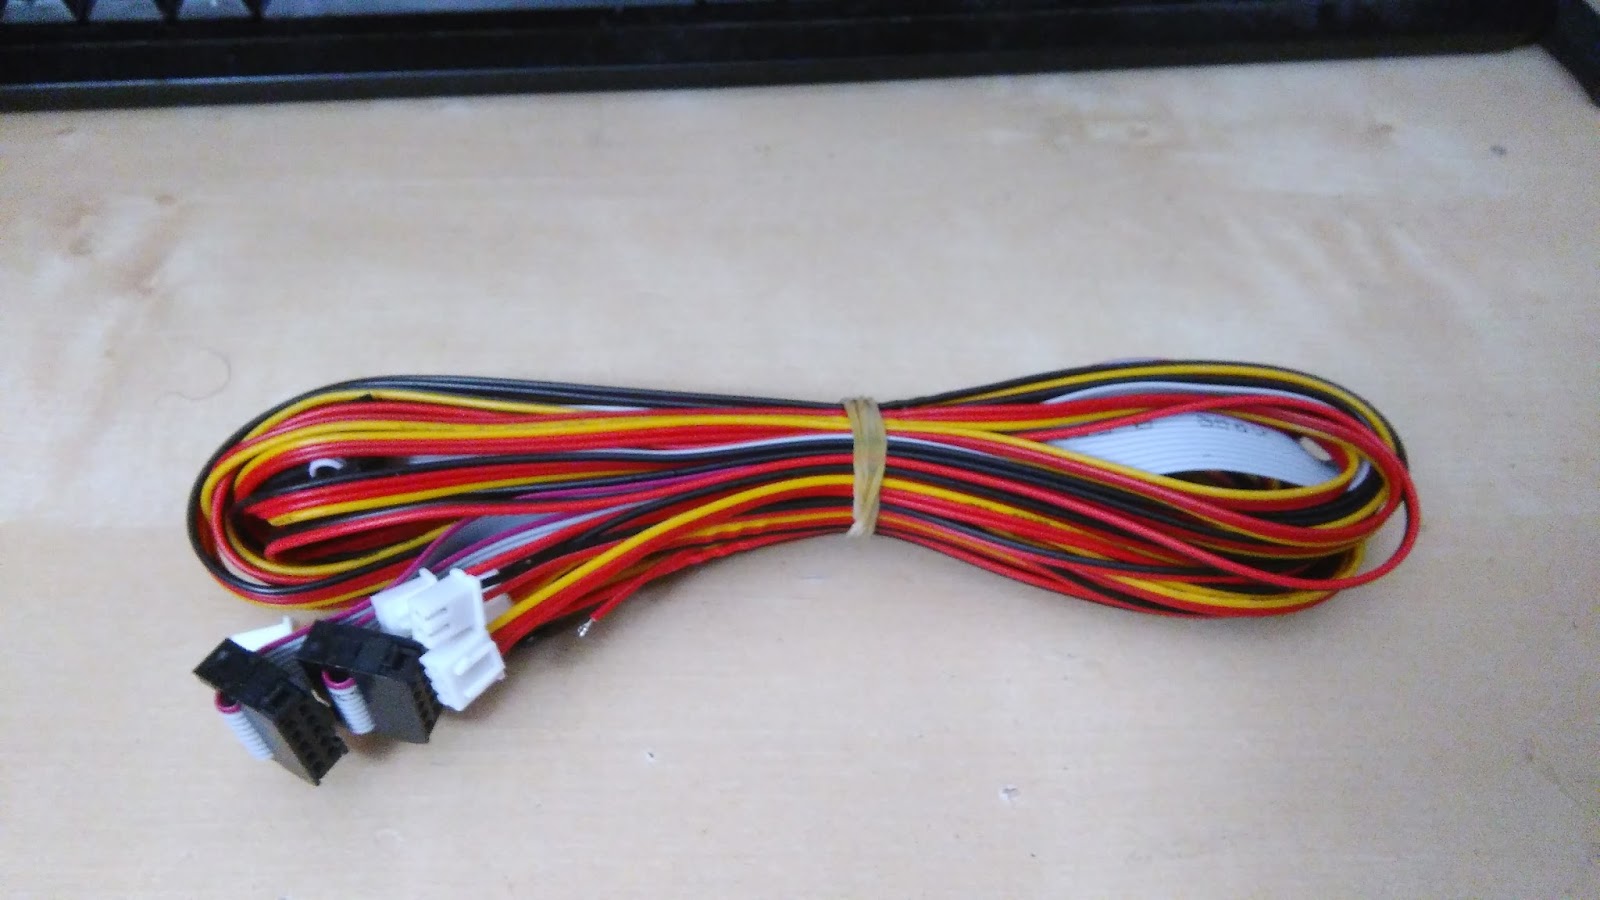
Here are the replacement wires I bought. I just wanted to have some spare wires on hand.
http://www.aliexpress.com/item/Free-Shipping-BUK9575-100A-TO-220-10pcs-lot-in-stock/2021597531.html
I
don't know why I thought these connectors might work. In short, they
won't work with the craftbot. But I was fine with that as I just wanted
to have some spare wires.
Here's what the ends look like.
I found the right connectors I needed on random computer components I had laying around.
Here's the difference.
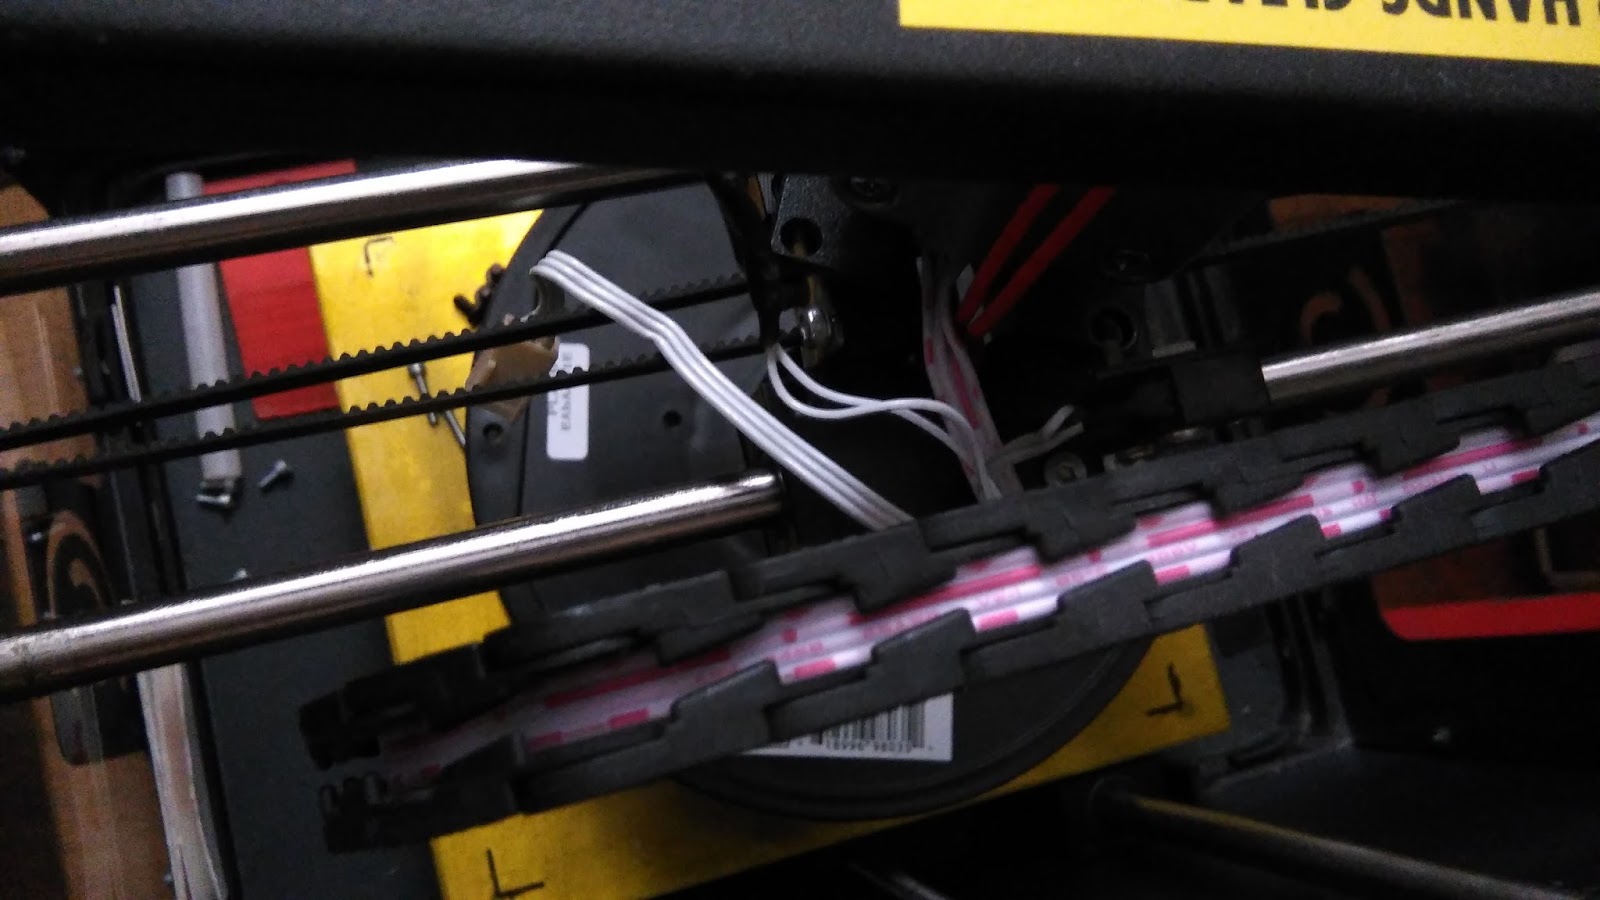
The first thing you will need to do is move the hot end for the plug to get through. I had already taken the top cover off here.
The plan was to take it all out of the chain. Easier said than done. The connector won't fit through the chain link at the end. You have to unscrew it to make your life easier, keep in mind that this end has two nuts holding it. You also need to snap the end out of the chain. Not hard but if you don't, the connector won't fit through.
Here's the next problem. The motor wires are on the outside keeping all the other wires inside.
So I started taking out these wires from this end. It was a lot harder than it looks since you have to go slow not to break these wires. Here's were you'll find it's easier to just unscrew the chain to make it easier.
Pulling the thermistor wire back through the chain at the same time. This wasn't going to be easy even though it was only two wires. The wire is also the same one that has the two switch wires. So it's a four wire run which I had to separate at the same time. Not impossible but you'll have to take your time so you don't break any wires. I figured I would replace them too if this didn't work.
Now I hit the connector again. The end had to be taken out here too.
I basically had to do the same thing on the other chain while pulling all the needed wires out.
I finally got the thermistor wires out the back.
The last place I need to pull them to split both sets of wires. Now I will be able to change them separately. If the switch or the motor wires go, it's back to this again unfortunately. It should go easier now that I did these and should have more room to work too.
Taking out the chain end to let the connector through.
It won't go through with that end as you can see here.
Just a top view of everything you will need to move.
Sorry about the blurry pictures, I didn't realize they were blurry at the time.
Then it finally got to the end of the road for the plug here of course. Make sure to mark your wires before cutting the connector off.
I had already marked the wires and checked them with the meter to make sure I knew what was what.
I eventually found a sort of knot farther back from the hot end which is where my wires had broken.
So I cut a pretty good chunk of the original wires after I had marked them and tested what was working. I then tested the end and as you can see I cut the wires back a bit to allow me to solder the end to the rest of the wire. I wish I had left a longer piece, but since I didn't know where the break was, it was better to keep them short.
Here's the mess in all its glory.
How I marked them.
This is after I soldered and tested the wires with the multi meter. So far it looks like I got my fans back and re-routed the wires to the top with the heater. I made another two small prints and other than slowing the speed down, I think I can start making some more prints. As you can see I didn't need the new connectors since I didn't change the wires, but you'll need these other type and not the white ones. I'm not sure what these are called, but I'll have to find me some since reusing the old ones won't be an option later I don't think. Hopefully they will last a bit more now that they are on the top. I think having this as an option would be a good thing, if anyone wants to keep those out of the chain.
So far the only two other parts that I think would improve the cb is having thicker rods, 10 mm instead of 8mm and having the wires come out the top of the printer. One of the replacements was still not 100 percent straight, but better than the old one for sure. The chain looks cool and works, but the wires take a beating. Also, a way to hold down the removable plate on the back as well since it tends to lift up when heated.


No comments:
Post a Comment