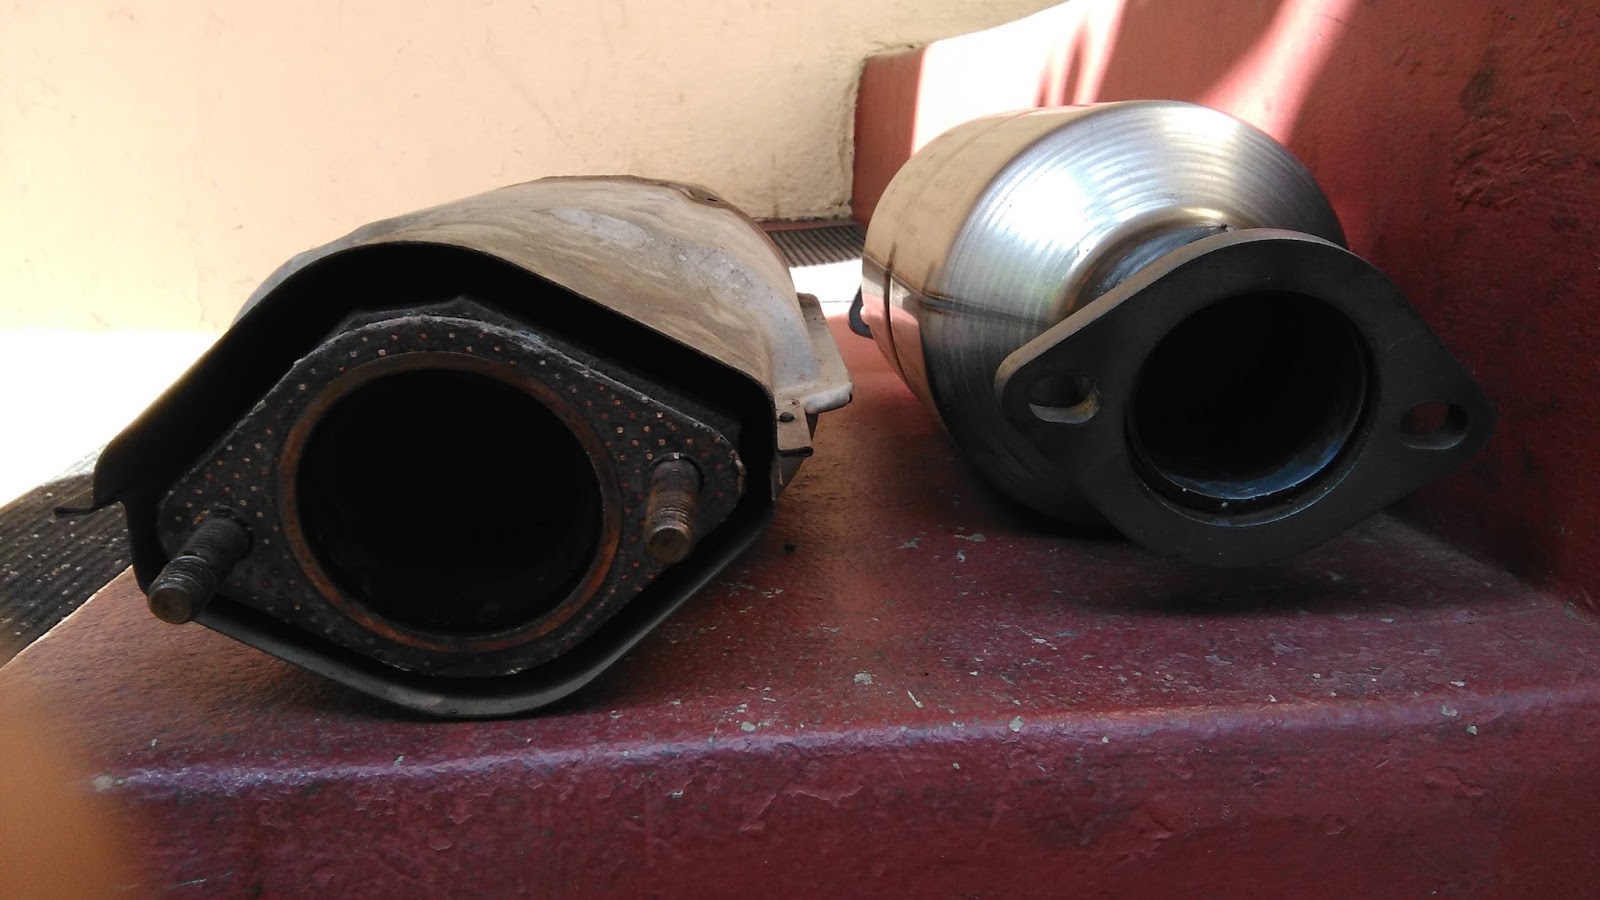
The car needed a new cat and I looked around but many of them were universal. This means that they don't come with the flanges. The 91 Miata uses a bolt on type which is nice since you can do it yourself. Unfortunately going from a universal to a so called direct bolt-on type with the flanges already welded means a big difference in price. This is the biggest rip off if I have ever seen one, but on the other hand the jobs I've seen for welding just leaves a lot to be desired. So I decided to just go with the direct fit so I could install it myself. I have been trying to get a head cylinder fixed and no one seems to be able to do it because it's too old, don't have the right cutter or just want to charge and arm and a leg and well, just a bunch of excuses. I basically got a feeling that a lot of the shops don't know how to do the work so I've put that aside for now. Which is the reason I decided to just do this myself this time around again since it's just a bolt on.
Anyway I ended up getting the part from oreilly auto parts. It was about 75 bucks less than what autozone wanted for a direct fit. It took them one day to get it to me and it got installed yesterday. It looks like my car had the original which has a more oval/rectangular shape and it has the studs already installed/pressed into the cat flanges. This means that you will need to get new bolts and nuts for the new catalytic. I didn't know this, but we ended up getting some 7/16 x 2 inches bolts and nuts. Unfortunately for me they were out of the fine thread, but my dad said to just get the coarse since that's what they had and this size bolt fit just right on those holes so that the gasket wouldn't be lose. I had to whack the two rear ones because of the slight rust, but once I did that I got them through. These are the harder yellow bolts so keep this in mind. I just went over to the local home depot to get them. The nut is larger than the bolt so we had to use a different socket for it. In short, if you can get some 11 mm bolts and nuts, use that. The original studs are 10 mm. The nut will be smaller and should make for an easier install and removal. It wasn't hard, but having a different size for the bolt and nut is a pain anyway. So the socket barely fit on one side which is the reason I recommend the 11 mm.
I had also bought the gaskets and got the wrong size. Then we saw that they are included in the box too, so I got a refund from the other two that were not the correct size. I have all the pictures below.


http://www.oreillyauto.com/site/c/detail/MGFC/332684/02404.oap?year=1991&make=Mazda&model=Miata&vi=1190887&ck=Search_catalytic+converter_1190887_-1&keyword=catalytic+converter


In the end, this was the final way that we got this to fit better. Make sure to screw the front side first as the front doesn't move. Then the back side. That will pull the back forward, but everything there is on rubber mounts. My car passed the smog check with flying colors. But that was another arm an a leg payment as the place had new people there now. So check to see how much it will be first before they actually do the work, then decide if you want to do it there or go somewhere else. My car actually feels better when I hit the gas if you can believe that.
Update...
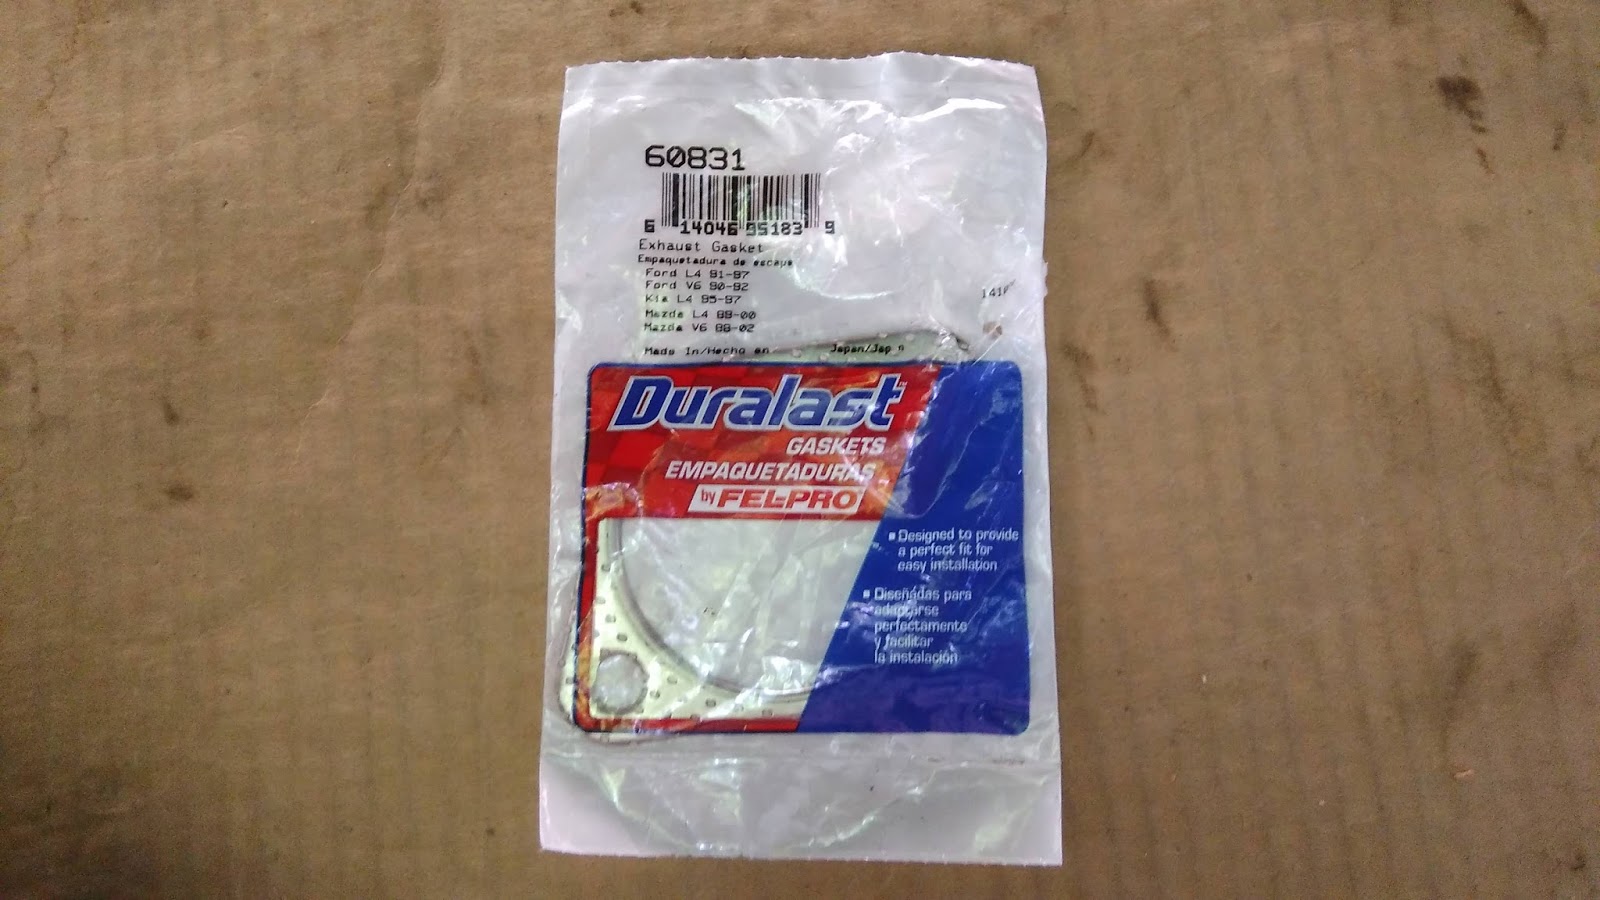
The cat started making that noise when the gaskets leak and sure enough, one of the included gaskets that was included with the catalytic pretty much opened up on me. They are pretty thin and well as you will see just lasted exactly about a month. Actually the noise started about a week ago but I just got out there and finally changed them today. I ended up going to autozone and just got what they had for the 91 miata and they actually look much better than the ones included with the catalytic converter as they are thicker and seem to have multiple layers.
I checked with the local mazda dealership and sure enough, they didn't have this simple gasket in stock and they wanted 11.52/11.53 or something like that for each one. Keep in mind that although the catalytic I bought seems to have both holes the same, the actual flange on the rear has the holes farther apart. I thought I could use two of the front ones since the included ones were the same, but no. I could not use the same one as I found the holes just didn't work. If they had the larger slotted type of holes they would have work, but since they were the exact hole without having any adjustment to the right or left, I had to end up going back and getting the larger one. In short if you use this cat, just go to autozone and get the ones they have listed for the 91 miata, they are not the same size. So keep this in mind, this is assuming you have the same bolt on exhaust that came with the car.


The thickness is very obvious here.


Here's the final look on the rear with the new larger gasket. In short, don't bother using the magnaflow gaskets. If I had know I would be having to go back under the car in a month I would have not bother using them. Live and learn.
No comments:
Post a Comment